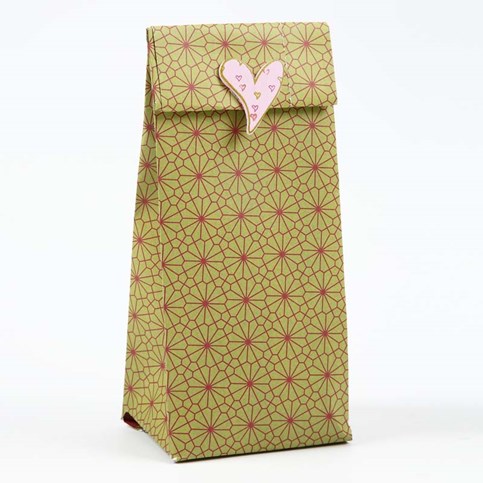
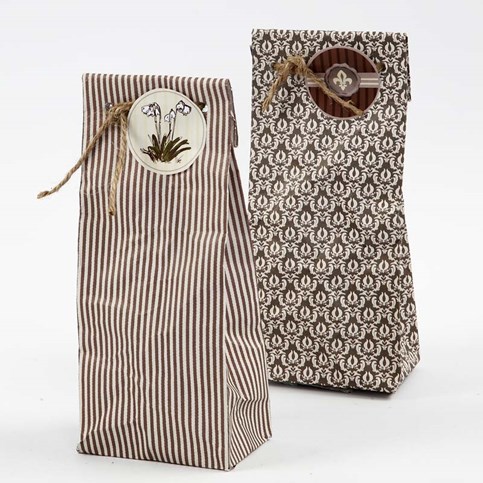
A 30 x 30cm sheet of Vivi Gade Design paper (the Oslo series) is used for folding the bag. Make two holes at the bag opening at the top and insert a piece of flax twine through the holes. Attach a decorative self-adhesive sticker on top.
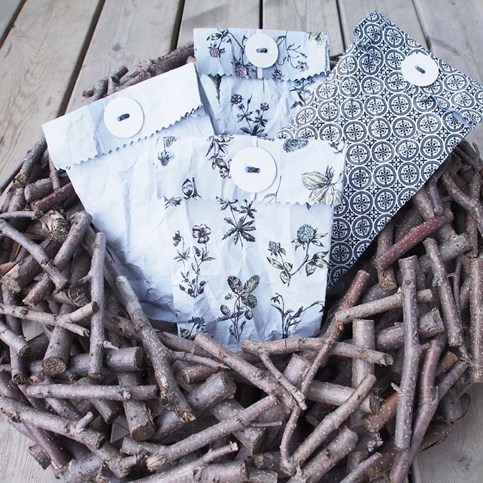
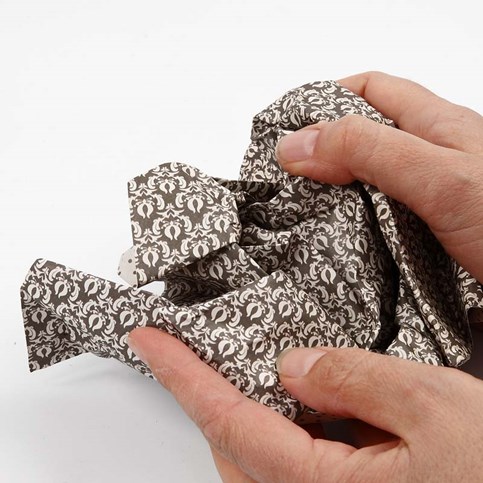
In order add a rustic look to the design paper, scrunch it up and smooth it out again.
Print out the template, which is available as a separate PDF file to this idea. NB: Piece together two pieces of A4 paper for a template in the actual template size.
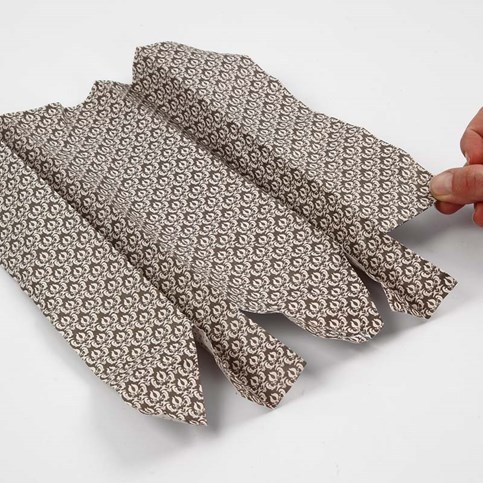
Fold the design paper along the dotted lines illustrated on the template.
Attach self-adhesive double-sided tape vertically on the inside of the bag – and assemble the bag.
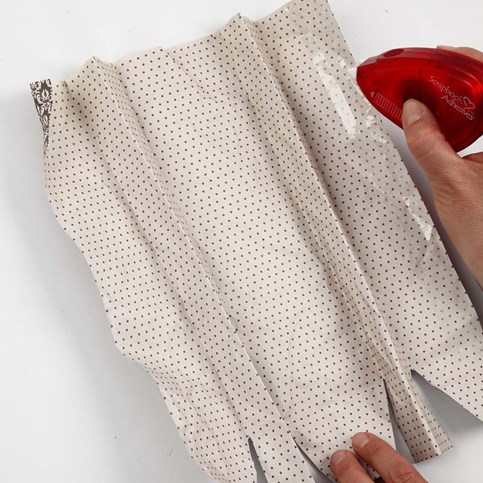
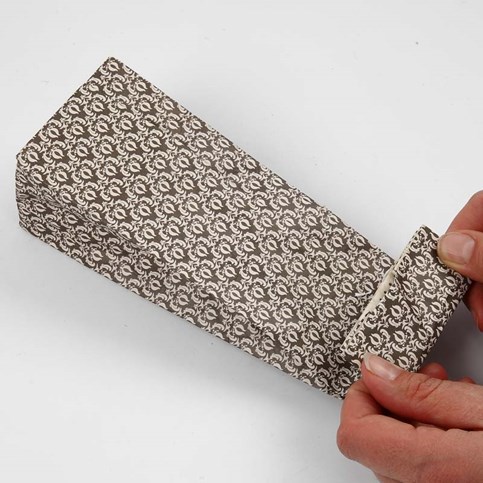
Assemble the bottom of the bag: Slide two opposing bottom flaps inside the bag. Do not secure with tape. However, secure the other two bottom flaps to each other by attaching self-adhesive double-sided tape on the outside of one of the flaps.
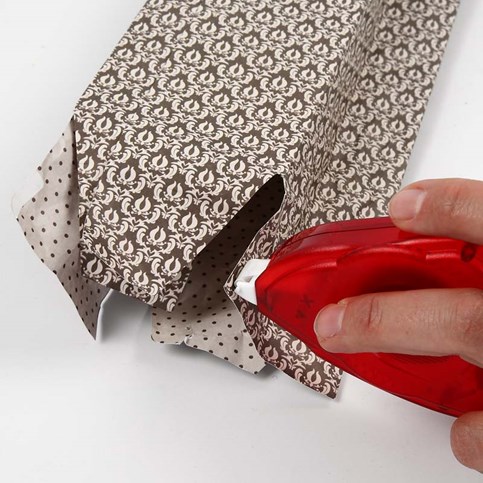
Fold down the closed top of the bag – approx. 3-4cm.
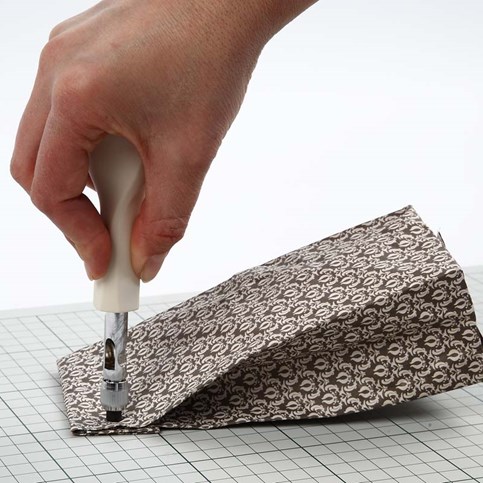
Use a screw punch for making a hole in each side of the bag through all the layers of paper. NB: push several times. Finally, tie a piece of flax twine through the two holes and finish with a bow. Attach a decorative paper sticker on top.
