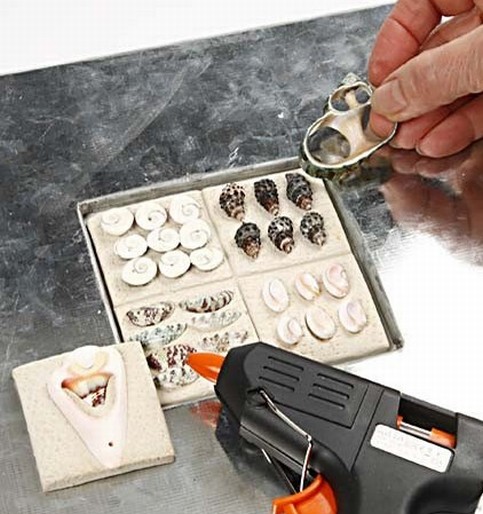
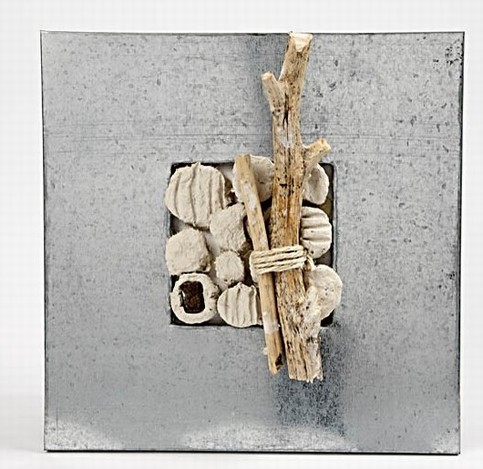
Push small Beach Shells into Self-Hardening clay. The clay relief is glued onto a canvas panel which is mounted in a lovely, big zinc frame.
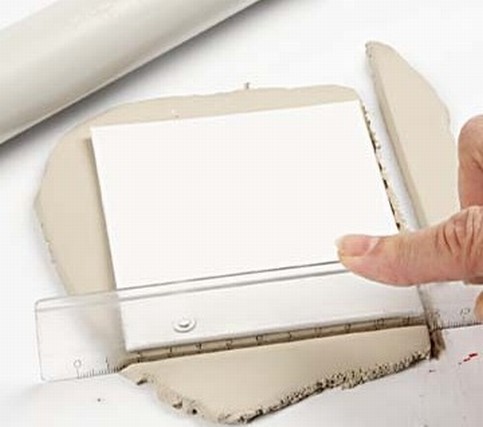
Roll out the clay to fit in the thickness of the frame. Cut the clay into 10 x 10cm squares, so it also fits within the size of the frame. Make another two smaller squares ( size).
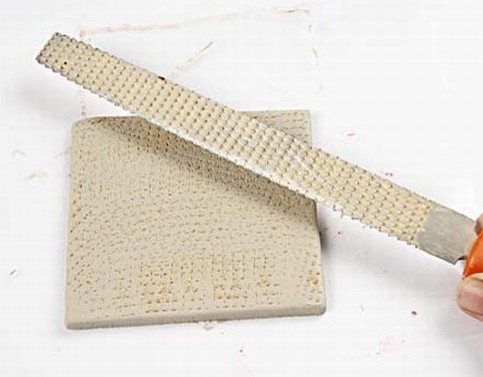
The rough surface is created by pushing a file into the wet clay, for example.
Mark the large piece of clay into four squares by lightly pressing the edge of a ruler into it. Push various small beach shells into each square.
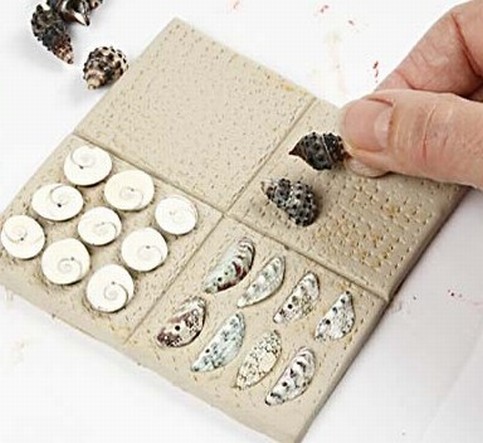
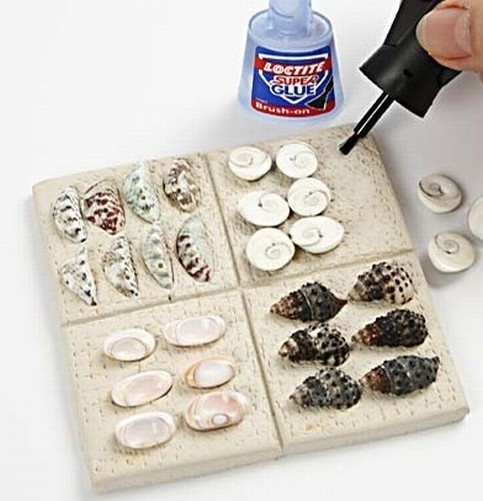
When the clay is completely dry (approx. 24 hours), you can glue any loose shells back on.
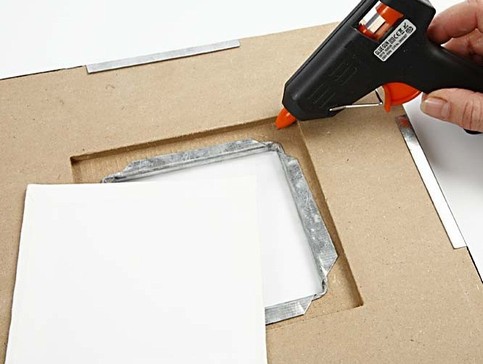
Glue the canvas panel onto the back of the frame.
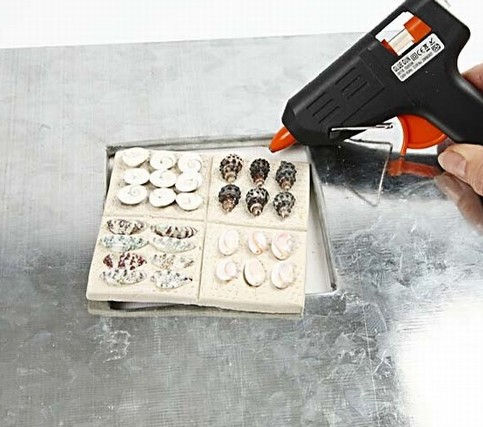
Glue the clay relief onto the canvas panel.
Finally glue the small clay squares and the shells onto the frame.
