Each bracelet is braided on a Kumihimo braiding disk. The materials are macram cords and fishing line respectively. The latter is varied with faceted beads and rocaille seed beads. A magnetic clasp is attached for fastening on all three bracelets.

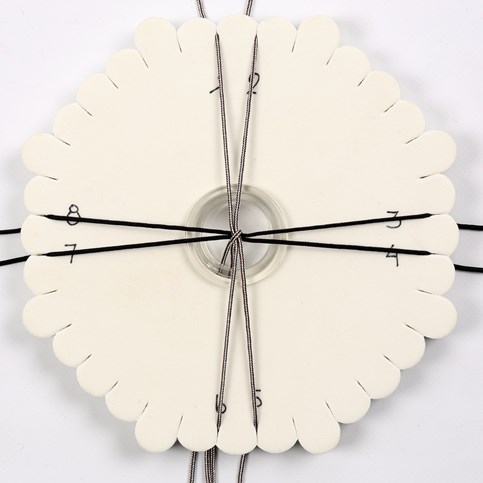
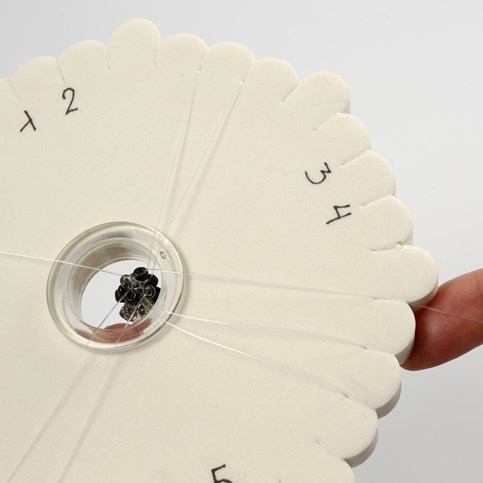
Write the numbers from 1-8 on the Kumihimo braiding disk as shown.

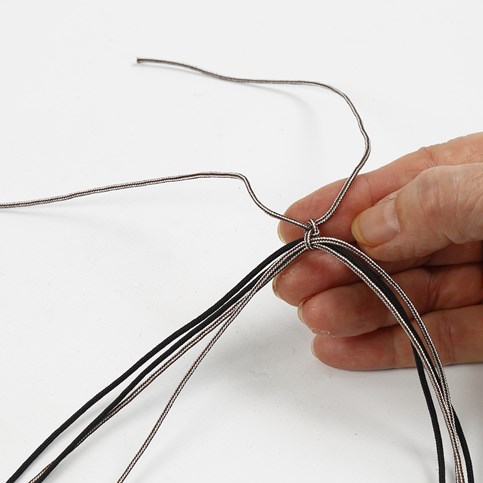
A bracelet with macram cords: We have used macram cord in two colours. Cut two 125cm black and two 125cm brown pieces of macram cord. Double-over the cords and attach a small piece of cord around the middle of the four long pieces.
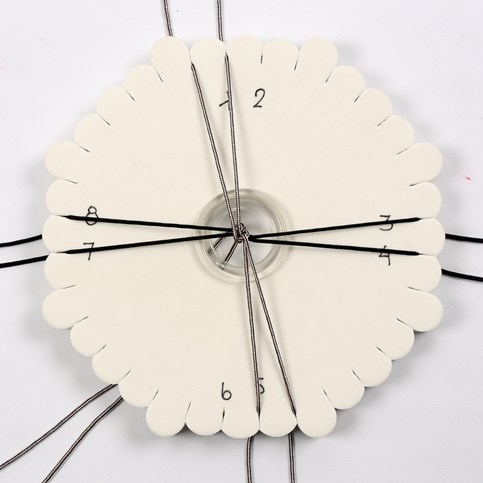
Place the eight assembled cords onto the middle of the front of the disk. Tie a knot in the small cord from underneath the disk and spread out the eight cords so one colour cord is lying on No. 1, 2, 5 and 6. The other colour cord is lying on No. 3, 4, 7 and 8.
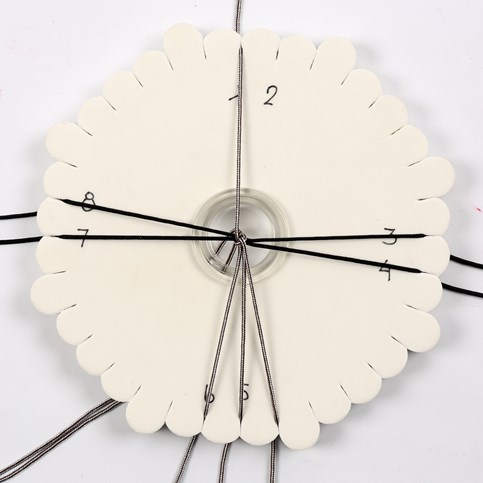
Move the cord from the top right to the bottom right of the disk. TIP: When you have a break, always stop in the position shown in the picture. Then it is easy to plan your next move, thus avoiding mistakes.
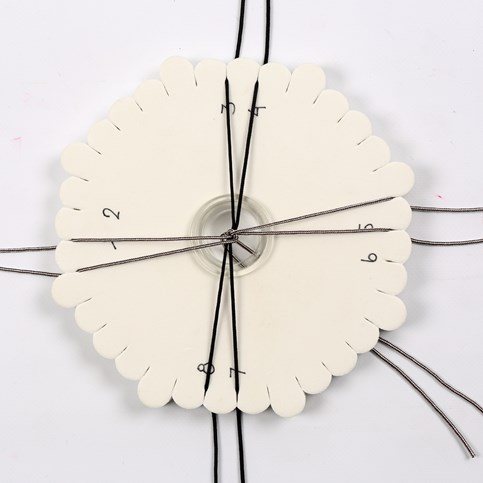
Move the bottom left cord to the top left of the disc.
Turn the disc 1/4 anticlockwise and continue the illustrated procedure until the bracelet is the desired length.
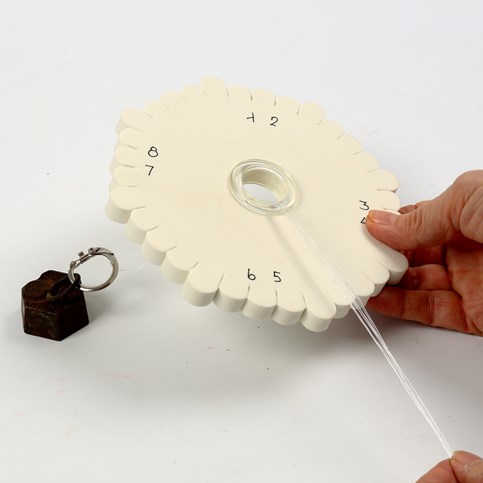
Bracelet with fishing line and beads: Cut four 150cm long pieces of fishing line. Double over and tie a knot approx. 10cm from the end to form a loop.

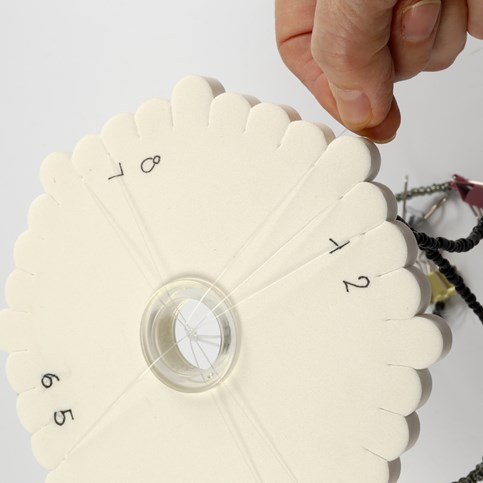
Keep the knot under the hole of the disc and pull the eight ends up through the hole.
Distribute the eight ends to the numbers on the disc.
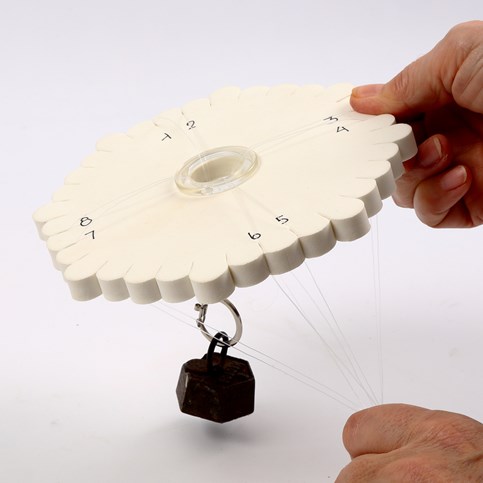
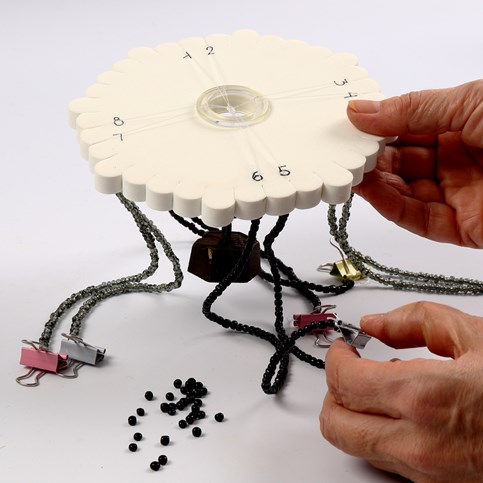
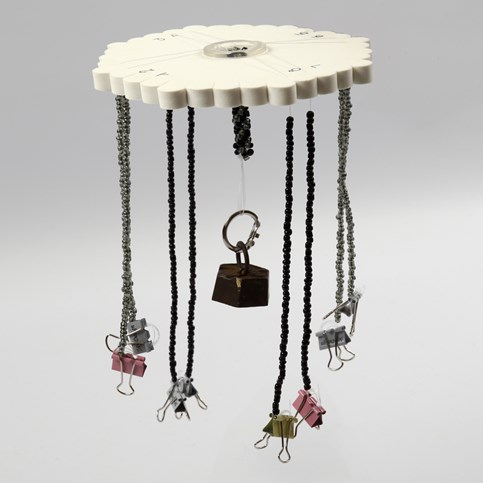
Thread one colour bead on the cords on No. 1, 2, 5, 6 and a different colour bead on the cords No. 3, 4, 7, 8; (approx. 60-70 beads on each cord). Roll up all cord ends and close with a clip to avoid the beads coming off.
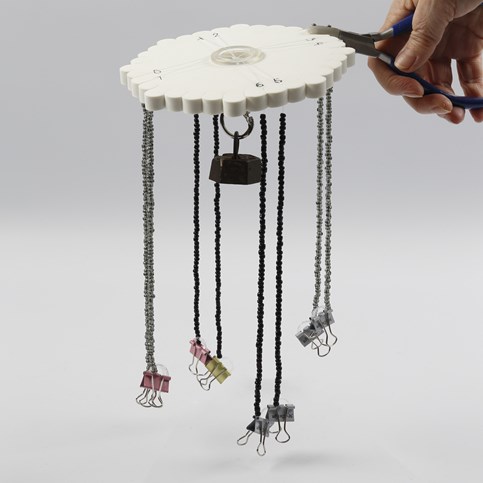
This is what the set up looks like.
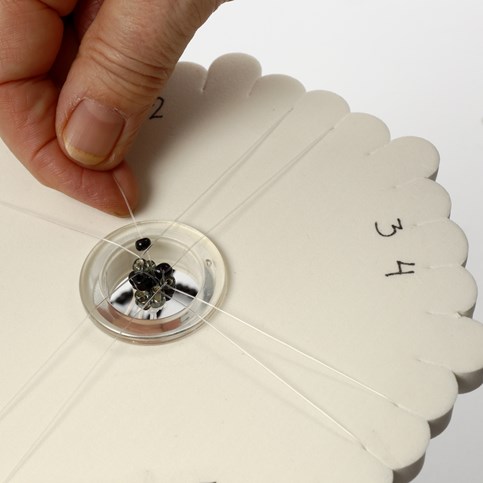
Braid a couple of rounds without beads on the disc in order to secure the ends.
Push a bead up every time you move a cord. NB; the bead must go underneath the transverse cord.
Pull the fishing line tightly before attaching it into the groove on the disc.
Continue the illustrated procedure until the bracelet is the desired length. (This bracelet is 18cm).
Remove the clip on each cord and the excess beads. Remove all the cords from the grooves on the disc and gather the ends in a knot.
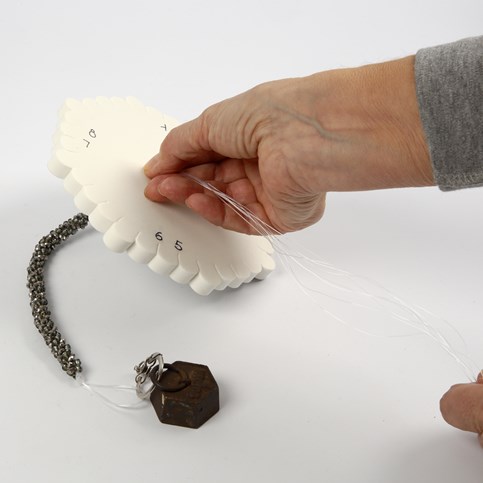
Trim the cord ends.

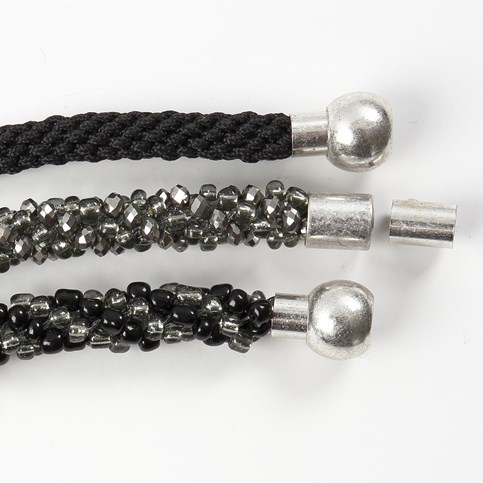
Glue the cord ends inside the holes of the two-part magnetic clasps. Keep the clasp in place with some tape while the glue is drying.

A bracelet made from macram cords and fishing line with faceted beads and rocaille seed beads.