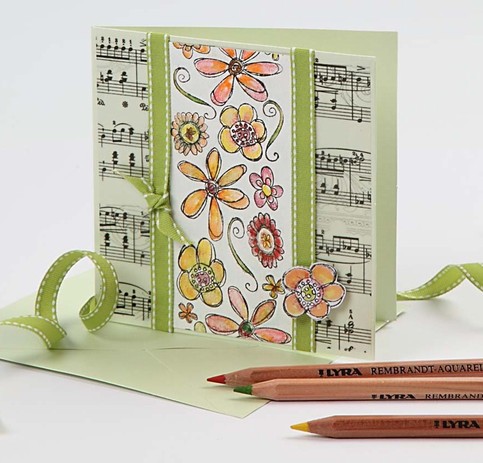
A pearlescent card decorated with a wide border of flowers made with a Continuous Stamping Wheel. The designs are painted with watercolour pencils. The green ribbon is from the Vivi Gade Design, Helsinki series.
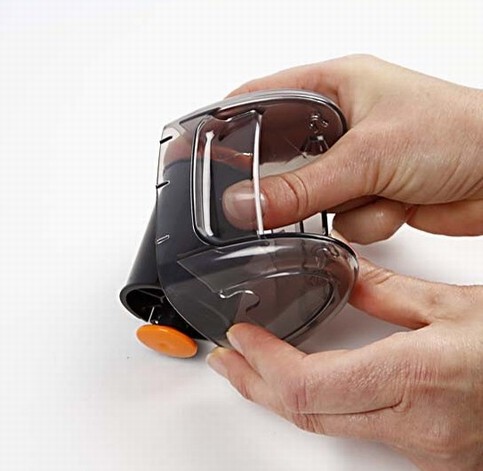
First push out the roller.
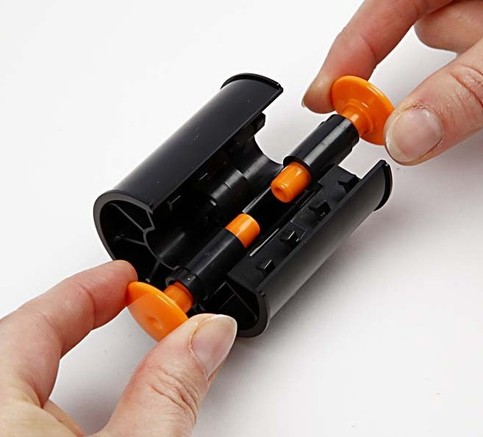
Open the roller by pulling out the two orange pins.
Remove the stamp design from the sheet and attach it to the roller.
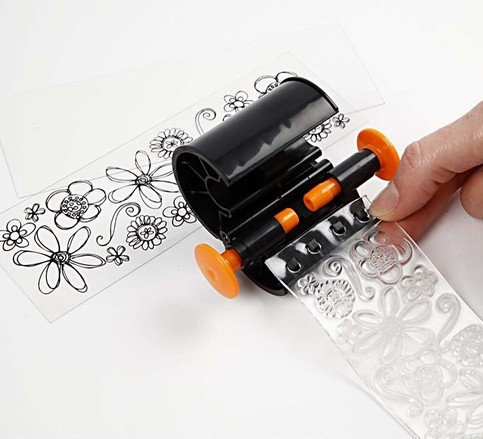
Wrap the stamp around the roller and fasten it in the other end.
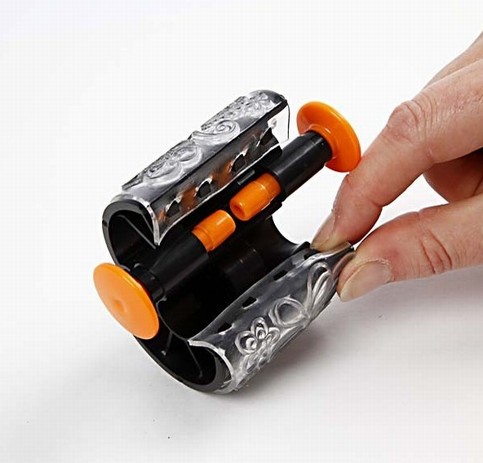
Assemble the roller by pushing the two pins back in place.
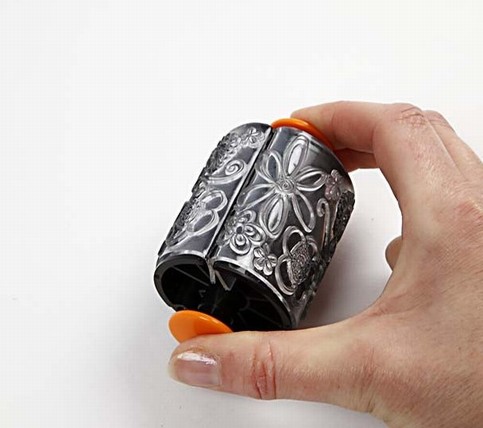
Push the roller back in the holder. There must be an audible click indicating that it is now in place.
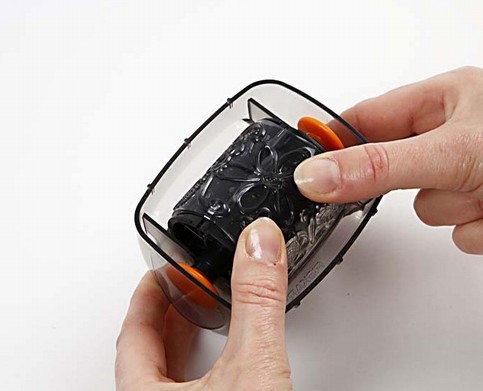
Turn the holder so that the Fiskars logo is turned towards you. Push the ink pad in place at the top of the holder.
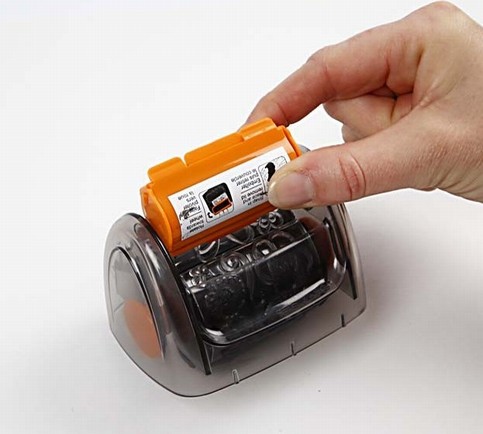
Remove the lid of the ink pad.
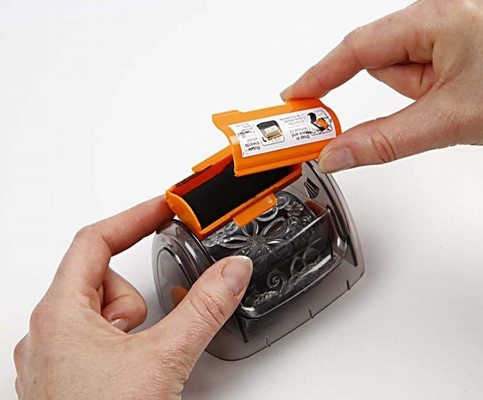
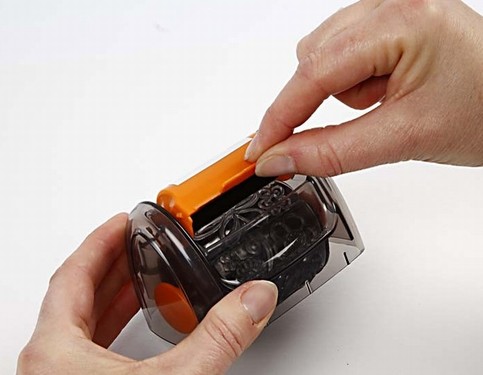
Turn the ink pad down towards the stamping roller.
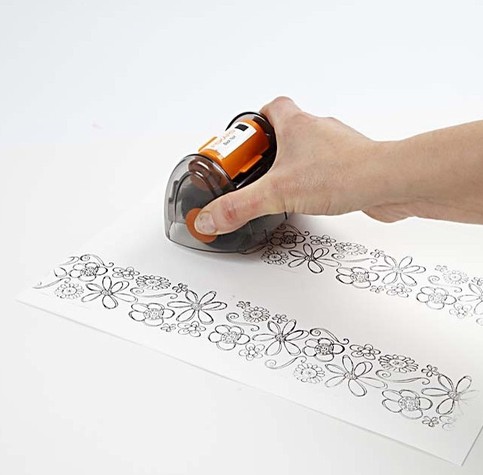
You make the stamp printing by pushing the roller forwards in a smooth motion. You can stamp on many types of paper. We have used watercolour paper in this example.
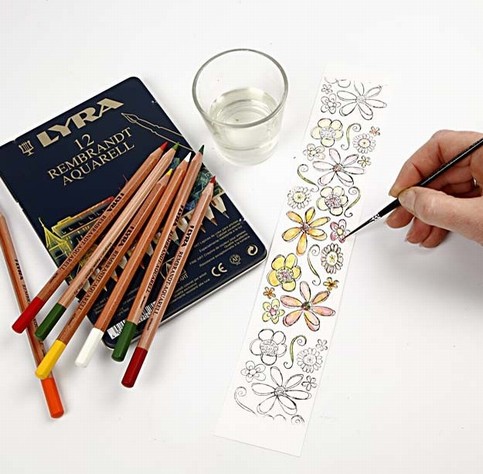
Colour the patterns with watercolour pencils. If you want a blurred look, colour lightly. You may mix the colours. Put a little water on a small brush, and drag it around in the colours. Be careful not to get too close to the ink itself, as it could dissolve.
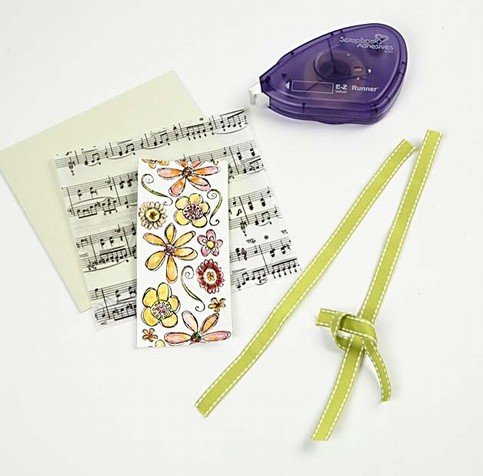
Cut a piece of Music Notes Vellum Paper slightly smaller than the card. Cut the stamp print to fit lengthwise and attach both to the card. We have used E-Z runner for vellum which is not visible from the front. Attach two pieces of ribbon on either side of the stamp print. You may decorate with a small punched out flower attached with 3D foam pads.
