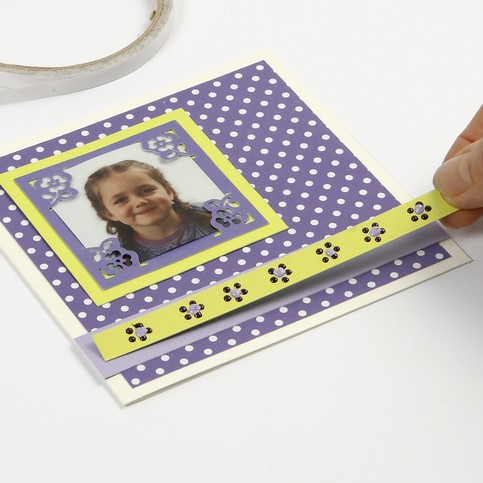
This greeting card is decorated with dots made with a Paper Pen, punched-out photo corners, card and paper from the Color Bar series which is attached onto the greeting card using self-adhesive tape.

Cut the paper and card to size and attach to the greeting card using double-sided tape. (The piece of green card measures approx. 7 x 7cm).
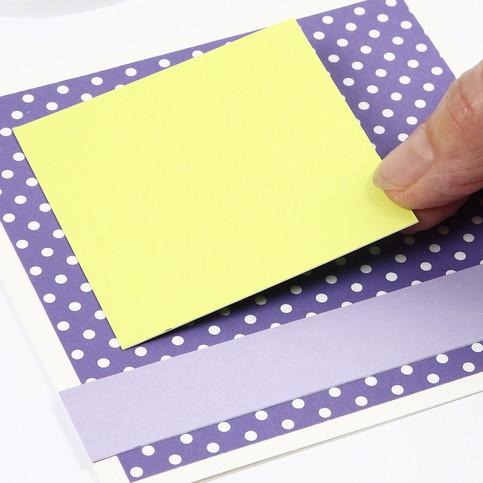
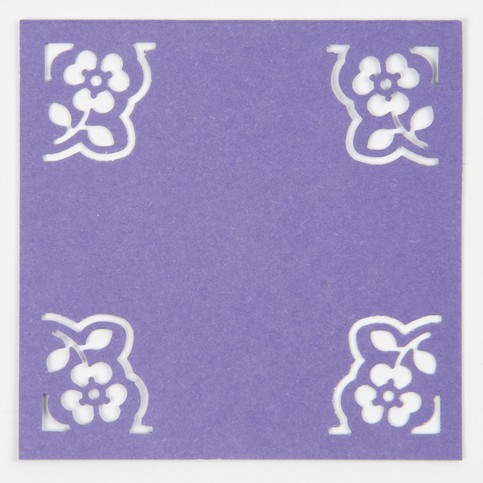
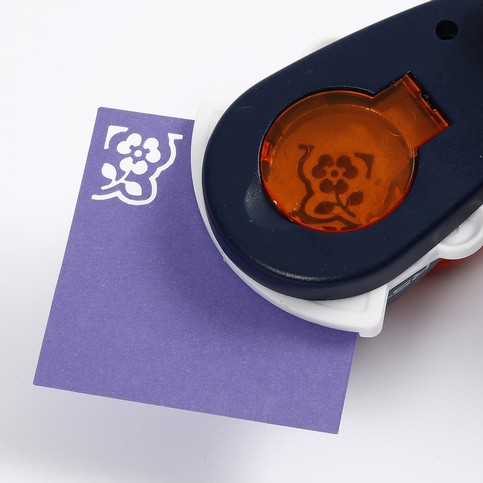
Cut a piece of purple card measuring 6 x 6cm and punch the corners with the Fiskars' Corner Lever Punch.

Look through the circular window of the Corner Lever Punch to see how the corner design will be featured in the finished photo frame.
Here is an example of the four corners with mirrored versions.

Attach 3mm wide double-sided adhesive tape to the back photo frame.
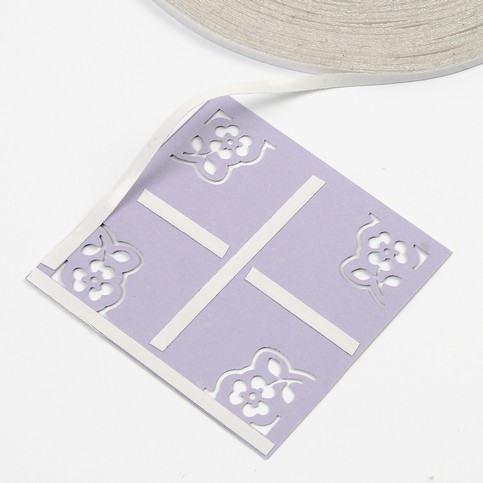
Attach the photo frame to the greeting card.
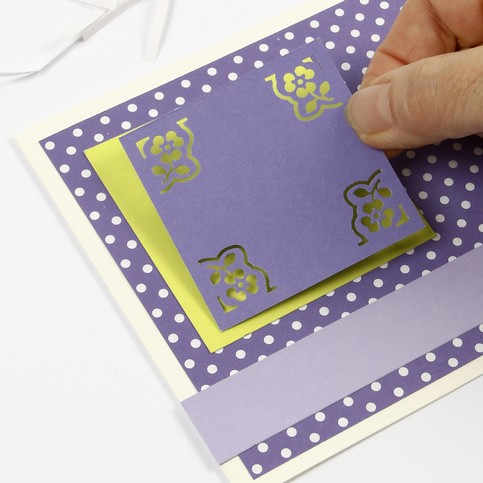
Cut a photo to size to fit the photo frame and place it gently under the four corners.

Use a Paper Pen for making small dots in a floral pattern on a narrow piece of card.

Attach the narrow piece of card onto the greeting card using double-sided adhesive tape.
