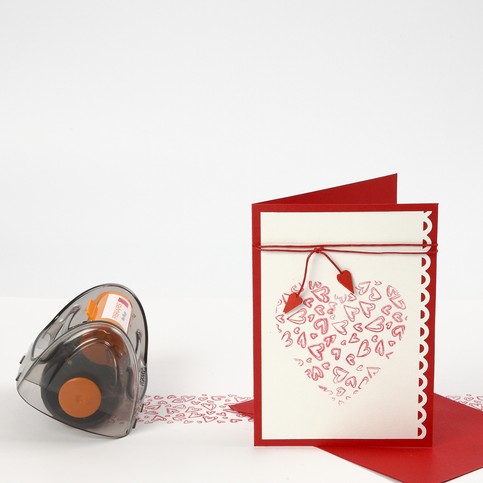
Attach a silicone stamp design with small hearts to a Fiskars stamping wheel. Apply the design by rolling the stamp across the table cloth in a continious row. Decorate the greeting card with a heart-shaped stamped design, using a shape cutter.
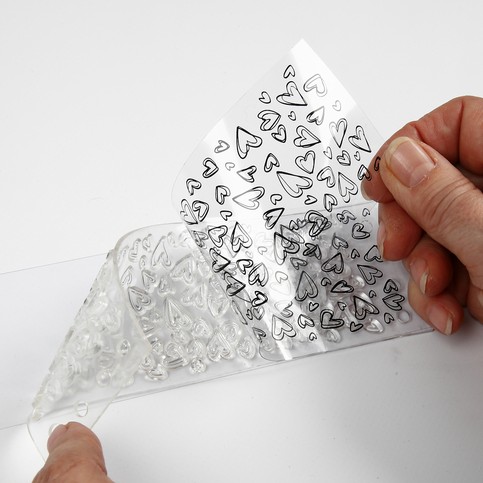
Remove the two protective sheets from the silicone stamp design.
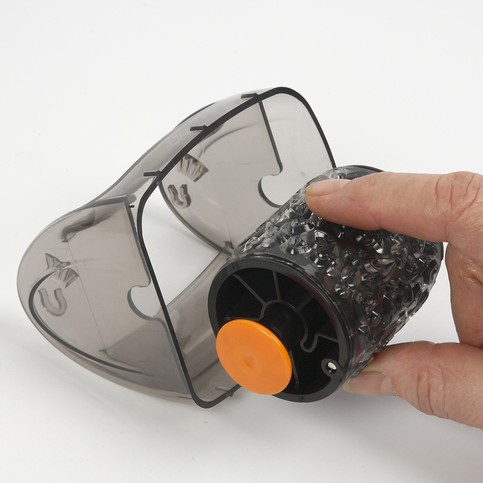
Open and remove the roller by pulling out the two orange pins. Attach the stamp design onto by wrapping it around the roller and fasten it onto the small tabs in the other end.
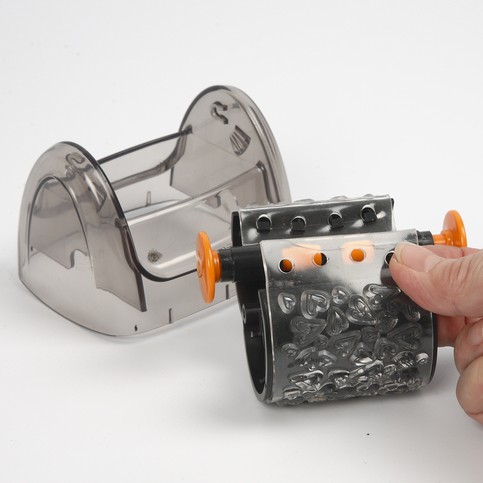
Push in the two orange pins and put the roller back in the holder. There must be an audible click indicating that it is now in place.
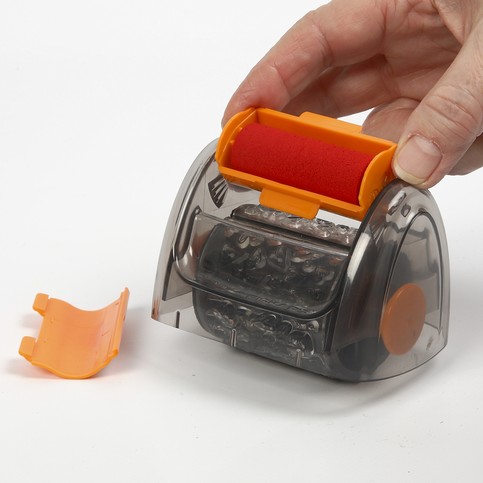
Push the ink pad in place at the top of the holder with the tabs in the grooves.
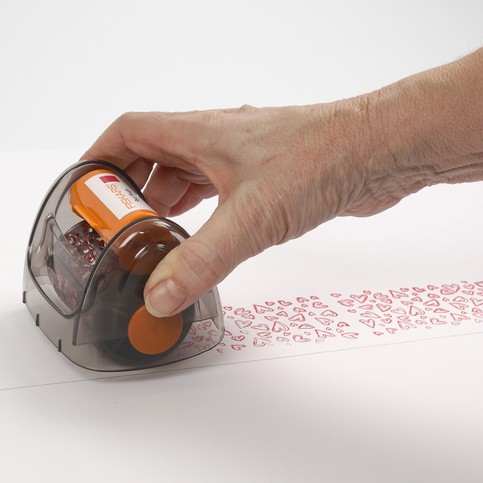
Roll the border onto the tablecloth. You make the stamp printing by pushing the roller forwards in a smooth motion. NB! Draw a thin line with a pencil to keep a straight margin.
For the greeting card make a heart from card using a template. Cut it out using a shape cutter plus.
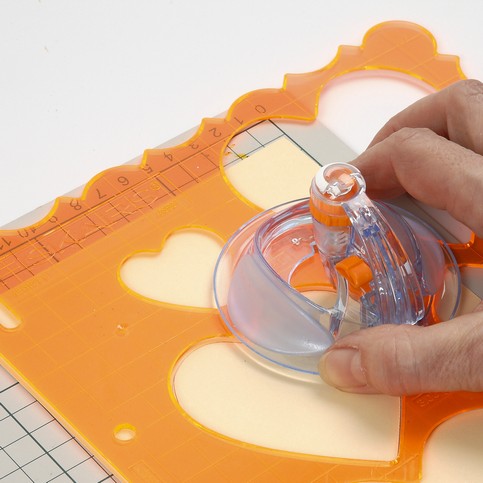
Place the cut-out heart template on the outside front of the greeting card (if light-coloured). Or, as here, on a white piece of card and roll the stamp across. First vertically and then once more, letting the stamping wheel slightly overlap the first print. NB! You may choose to try making a sample beforehand.
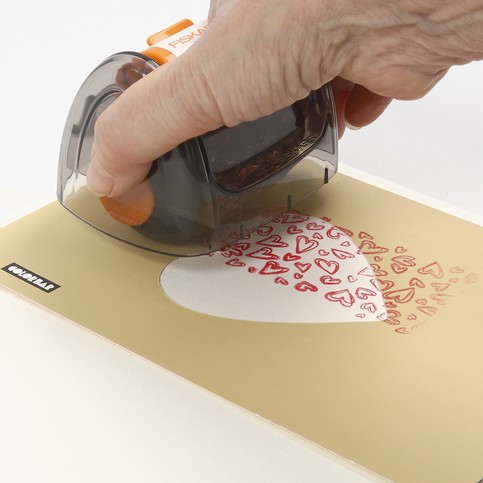
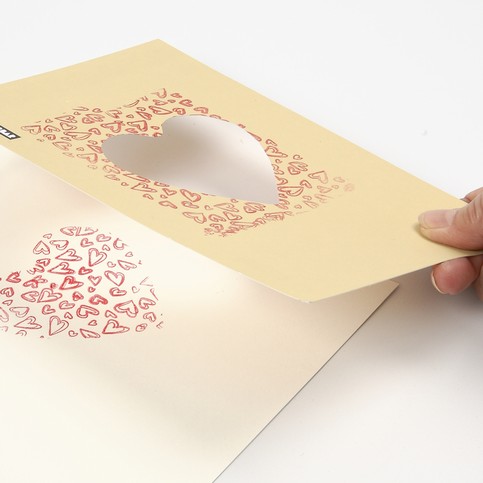
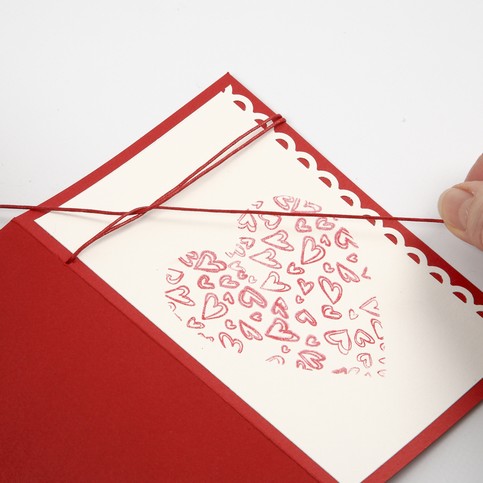
Remove the heart template. A heart design, consisting of lots of small hearts inside, is revealed.
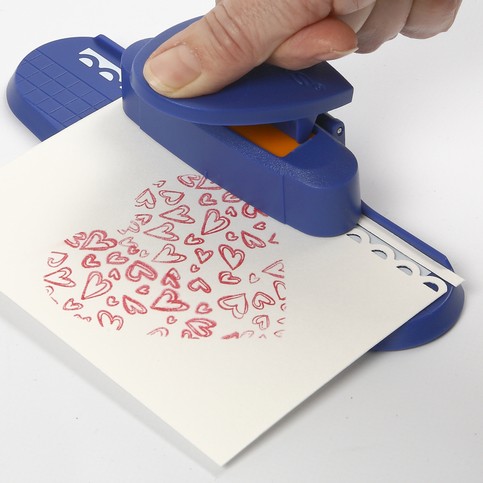
Trim the white card with the printed heart, making it slightly smaller than the greeting card on which the white card is going to be attached. Use a border punch along one side of the white card.
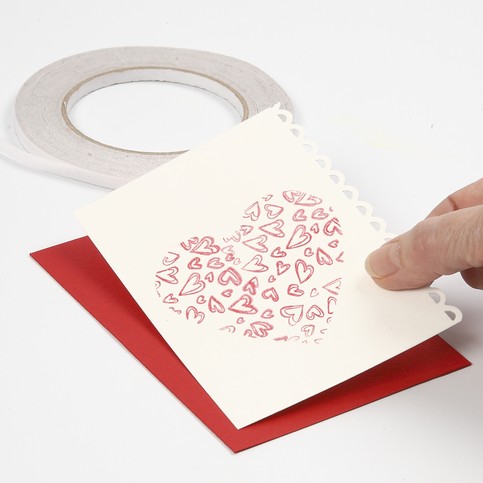
Attach the white card onto the greeting card using double-sided adhesive tape.
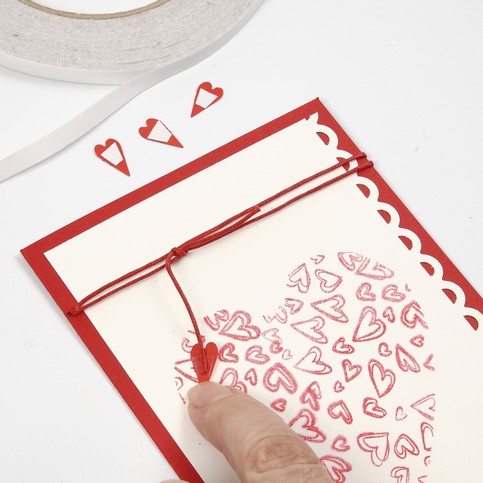
Make a hole in the card and tie a piece of cotton cord around the card.
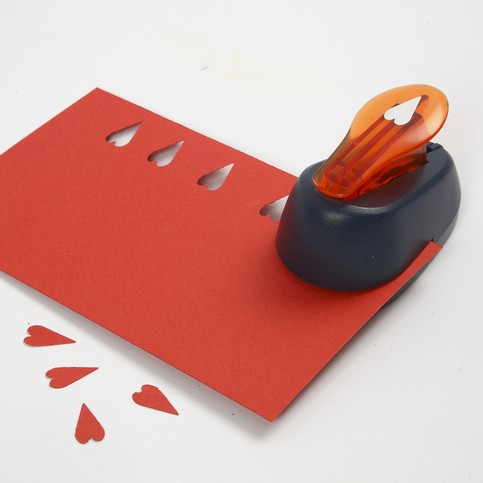
Use a lever punch for punching out small hearts. We have used four for the card.
Attach the hearts in pairs around each cotton cord end. Use double-sided adhesive tape.
