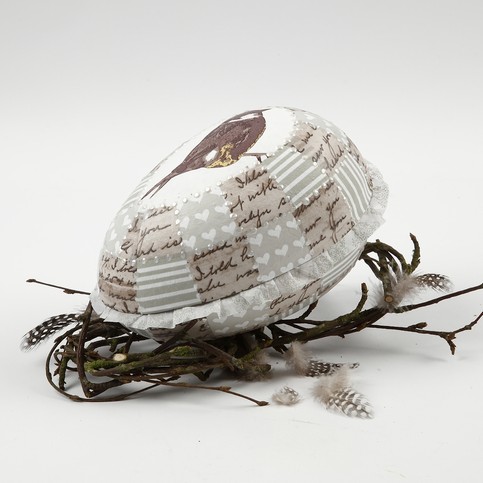
This cardboard egg is decoupaged with Vivi Gade Design Decoupage paper. Then it is decorated with a ruffled strip of decoupage paper as a decorative ruffled border and dots made with a Paper Pen.
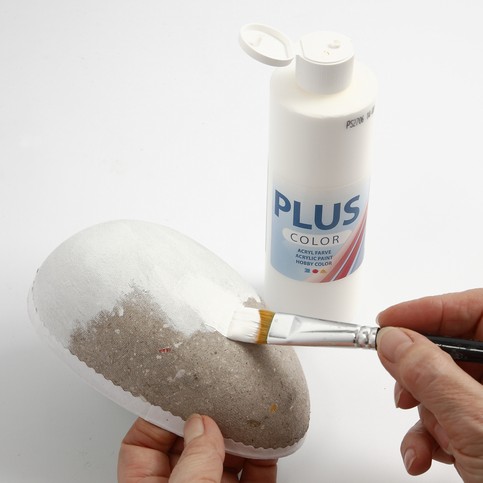
Paint both halves of the egg with white Plus Color Acrylic paint.
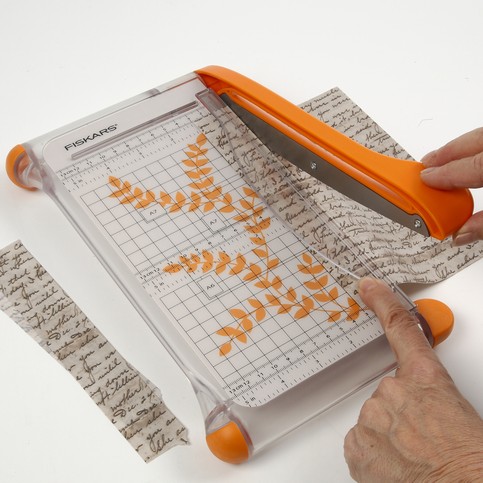
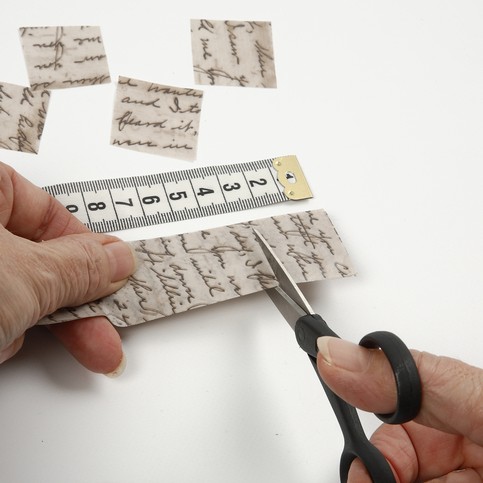
Use a Fiskars guillotine trimmer for cutting Vivi Gade Design decoupage paper into approx. 3cm wide paper strips.
Cut the strips into squares.
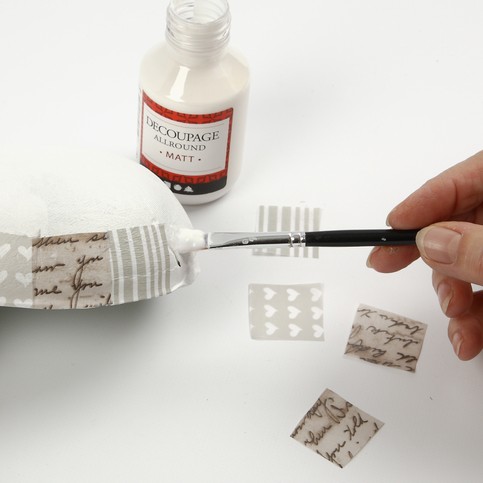
Attach the squares all the way around the egg, along the edge using decoupage lacquer.
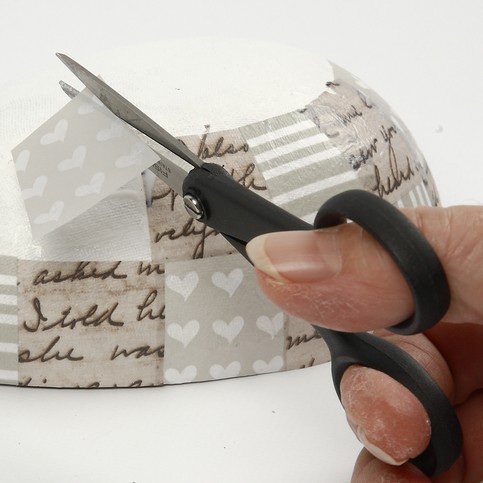
For the next row of squares, cut both sides of the squares at an angle, following the rounded shape of egg.
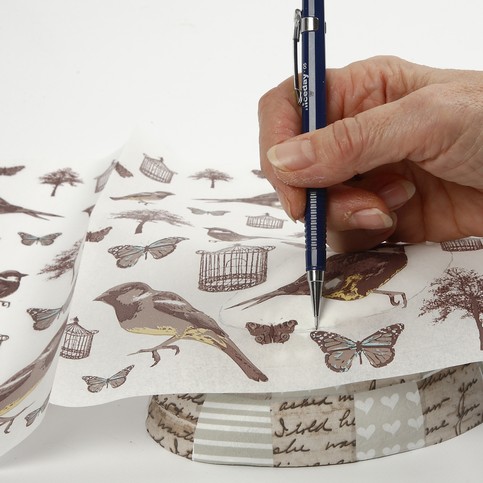
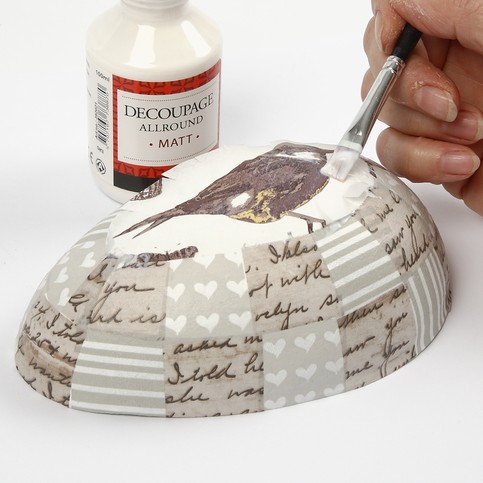
Place a piece of decoupage paper with prints on the bare area on the rounded top of the egg. Choose a motif, draw around it so it fits the bare area and cut it out.
Attach the cut-out motif using decoupage lacquer.
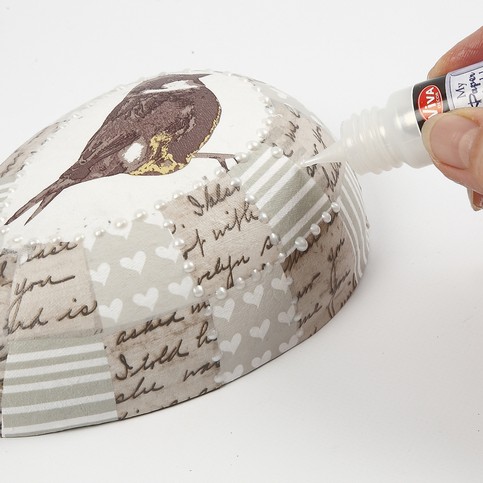
Decorate the top half of the egg with dots made with a paper pen.
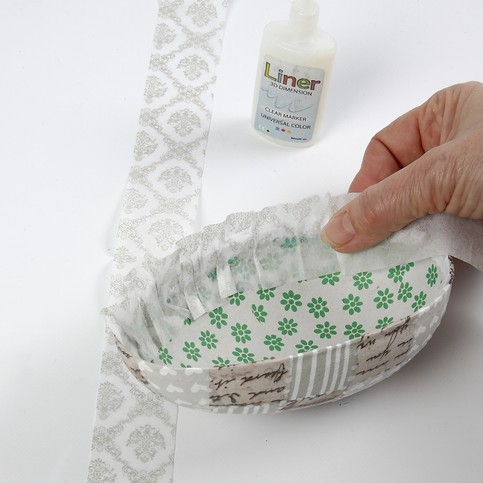
Cut a strip of decoupage paper – longer than the edge of the top half of the egg. You may use more than one piece of decoupage paper for the ruffled border. Glue it onto the inside of the top half of the egg whilst ruffling it. Push the decoupage paper into the wet glue, let it overlap as a pleating.