
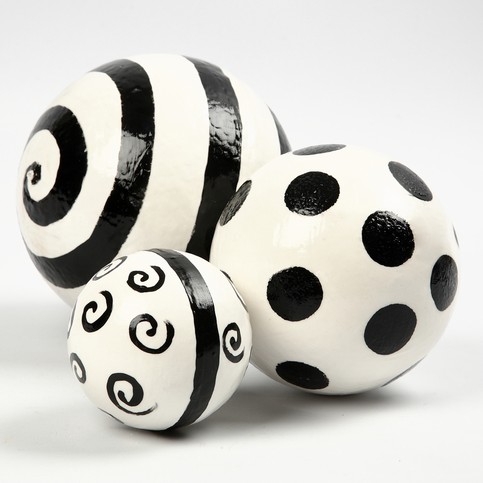
These polystyrene balls are dipped in liquid plaster and then left to dry. A graphic design is painted with Plus Color Craft paint and afterwards a coat of clear varnish is applied to the balls.
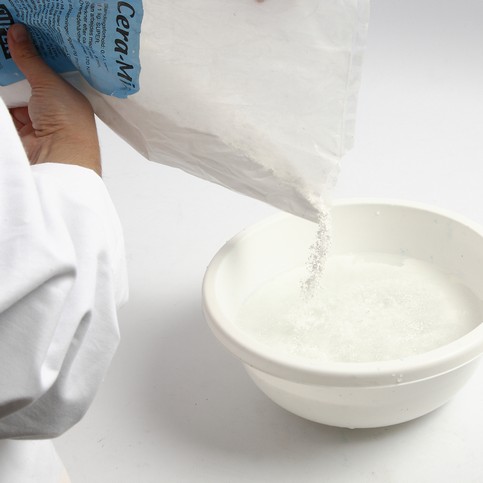
Pour water into a bowl, and sprinkle plaster into the bowl, forming a small peak above the surface of the water. See the mixing ratio on the packaging of the casting plaster.
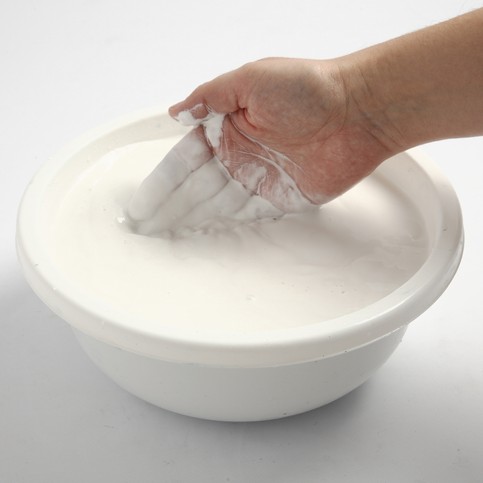
Stir the mixture - using your hand - until all clumps and bubbles are gone. The plaster should be a creamy consistency.
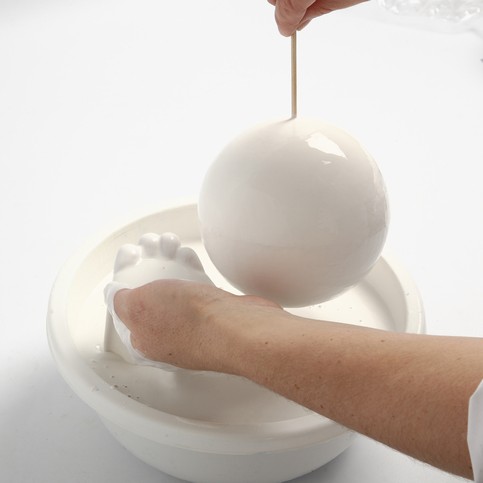
Push a flower stick into the polystyrene ball and dip it in the creamy plaster until it is completely covered.
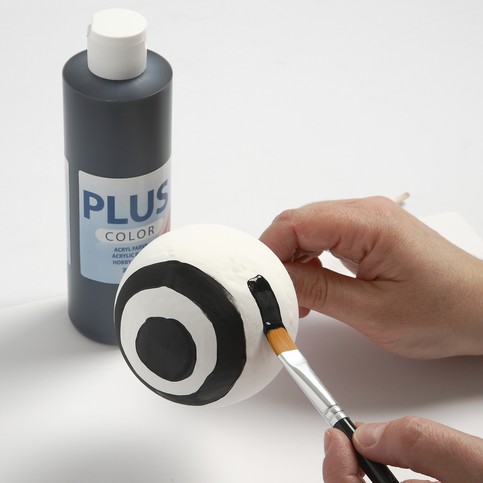
When the plaster is hard and dry, paint the ball with white Plus Color Craft paint. NB! Leave the flower stick stuck in the ball and use it as a handle. When the white paint is dry, paint a graphic pattern on the ball using black Plus Color Craft paint. Use a brush to make stripes and a foam brush for dots.
Once the decorated ball is dry, apply a coat of clear acrylic varnish.
