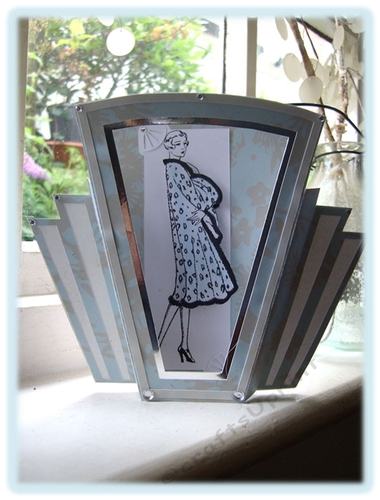


silhouette studio and svg formats; art deco inspired 3d card design with backing papers included to cut design as in picture and art deco lady artwork for centre inc decoupage (fancy photo corners included to mount artwork) - can alternatively use vellum for see through side panels - full pdf instructions included in download and in tutorial tab top right.
Can use own artwork rubber stamps etc also for centre of card. Folds flat for posting
ART DECO 3d FRAME CARD 3
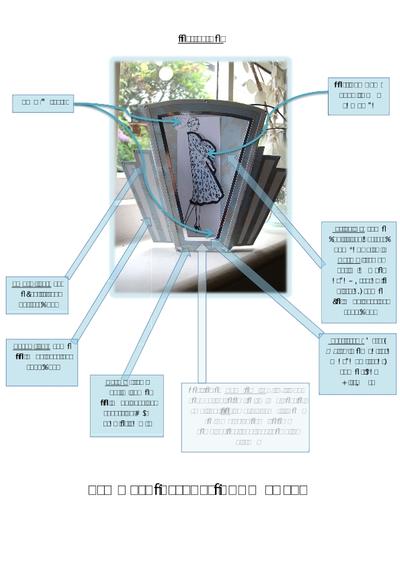
Cut front of card on full sized pattern pdf (ie print on card and use to cut design) – Mountain fold score lines nearest the aperture and valley fold outer score linesCut inset frame in silver mirriboard and attach by sticking inside/behind the frame aperture of front of card so edge of silver peeks outCut back of card on almond backing sheet pdf (ie print on card and use to cut design) – Valley fold inner score lines and mountain fold outer score linesCut inside mat on half sized pattern pdf (ie print on card and use to cut design)Stick inside mat to inside of back of card Cut narrow frame overlay twice on almond backing sheet pdf (ie print on card and use to cut design), and stick around inside mat and also around front of card framePrint Art Deco Lady pdf design (use actual size option in pdf print dialogue)Cut narrow rectangle by hand around art deco lady and using cut photo corners in top left and bottom right corner stick art deco lady to back panelCut out coat decoupage (just cut out coat part of second art deco lady on art deco lady pdf) by hand.. the edge is black fur so its very easy to cut out by hand - I coloured coat with blue chalk by crushing a blue chalk stick from cheap kids coloured chalks set (99p) by putting stick in freezer bag and whacking with rolling pin etc and applying with q tipStuck decoupage on main image (with double layer of foam pads) by angling a bit ie by lining up at top and angling to right at bottom so looks like theres an extra pleat in coatStick front and back of card together by outer flangeFinished off with a few gems.
Folds flat for postingTheres a frame overlay file that havent used in design, that can be used as a contrasting colour for frame at front of card if you use your own colour combination for a completely different look perhaps with your own artwork/rubber stamps for centre of card, attached with photo corners file, or use photo from family photos etc.
ALTERNATIVE SEE THROUGH VELLUM INSERTS If want a see through edge design using vellum inserts, see vellum insert files folder and cut back of card for vellum inserts out of regular card and actual vellum inserts in vellum; then when sticking front and back of card together sandwich vellum in between giving a classy see-through effect.
For Cricut Design Space users: In my experience svgs (mine or others) never import into cricut design space at the correct size unlike other programs, so for ref the intended main card dimensions are 211.95mm x 156.05mm with everything else in proportion ie select all (from multiple files) elements on mat at same time as resizing main part of card to correct dimensions


