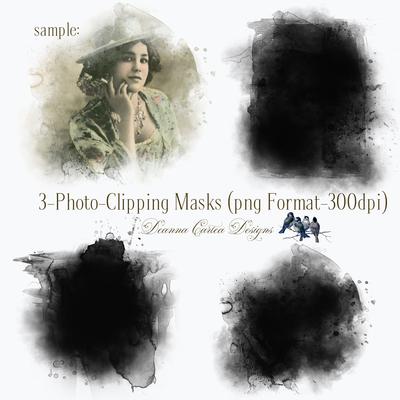
Thank you for your interest!Once I learned how to create a clipping mask, I have had so much fun and have been able to create so much more unique projects!
I hope you do as well.
Instructions via Photo-Elements 12 (what I use to design in):(but this will work on any photo editing program that accepts png formats, creates layers and creates clipping masks).1-Open up your editing program and Add a background. 2-Load your photo clipping mask into Photo editing program as a layer over top of the background layer. 3-Now load your desired personal photo but make sure that your own photo layer is directly above the clipping mask layer. 4-Click on your own photo layer (not the clipping mask layer). 5-Right click on your personal photo layer and a selection of options will appear.
Choose Create a Clipping Mask Then, like magic your photo on the editing screen will have been Merged into the mask.6-Even though the photo mask and your personal photo have merged, your photo will still be in a layering format so that you can edit it.7-You can now edit and blend your photo using the eraser tool brush.
Using the soft mode at 10% opacity around the ares that you prefer or you can also just alter the opacity of your layer to blend the entire picture.8-You can also now add in other layers and digital elements to Embellish your project.
I have a huge selection in my shop wink wink.
Items Related to this Tutorial
Created By


